sigma
Basic Functionalities of Sigma
The Sigma IDE mainly contains of 4 major view panes.
- Menu Bar
- Toolbar
- Resources Pane
- Editor Pane
- Status Bar
Menu Bar
Menu Bar consists of 4 menu categories – File, Edit, Project, Help. Under File you can change your current working project and view/edit project related settings. Edit category is equipped with most common editor related operations (keyboard shortcuts available). With menu items under Project category, you can perform current project related operations.

Toolbar
Toolbar consists of shortcut buttons for a handful of quick launch operations. Project Select allows you to quickly change your project into an existing Sigma project from your currently integrated GitHub account, pre-created Sigma samples, a public GitHub repository for a given URL, or a new project, from the scratch. Add Dependency button facilitates adding a third-party npm dependency from npmjs. Drop-down next to it will show dependencies already added to the current Sigma project. Save Project, Build Project, Deploy Project buttons give you a smooth Continuous Integration or Continuous Deployment experience depending on the operation of your choice. You can simply click on Deploy Project button to automatically save your project to the integrated repository, then build the source, and deploy it on top of your AWS account. With Clean Unused Resources button, you can easily remove all the stale resources reside in your current project source.
Resources Pane
The Resources Pane allows you to save your time solely on the application logic. You can simply drag and drop resources and related operations from this to the desired location (depending on the requirement of triggers or resources) editor pane to auto-generate code snippets. As depicted in the image below, available resource types/ trigger types are listed with related attributes.
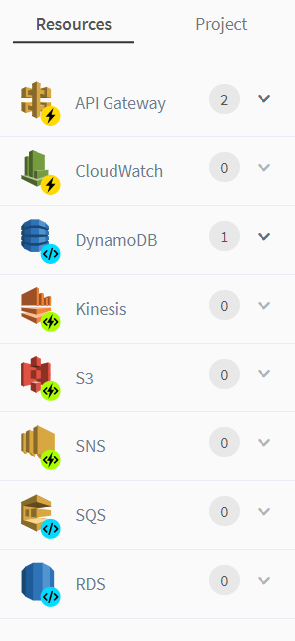
All the components in the resources pane indicate whether they can be used as only a resource, a trigger, or both. The number in front of the component name indicates the number of resources of that components used in the current project. An expanded view of a particular component looks like this.

You can simply click on the pen icon to quickly edit the respective resource.
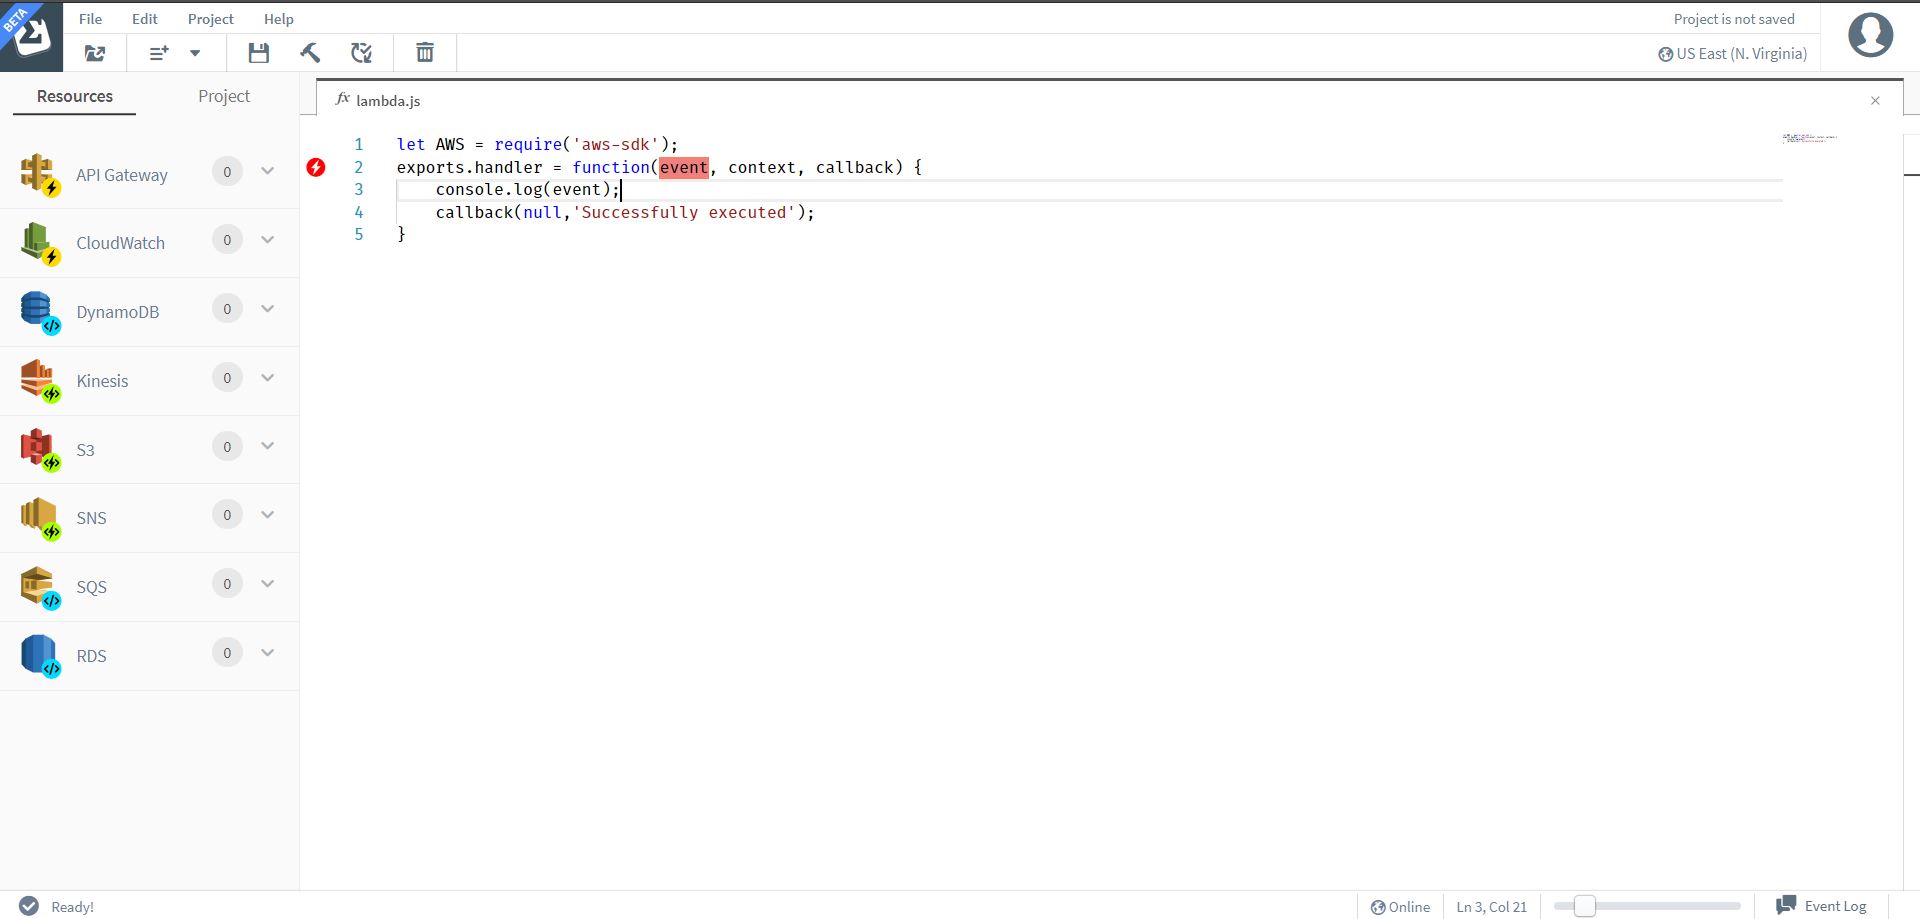
Editor Pane
To develop the application logic of your project, apart from the drag and drop model of components to ease the pain, Sigma allows you to exploit the power of raw coding. Editor Pane is where you will code and you’ll also be able to see the auto-generated code snippets.
For example, we can add a console.log(event) method within the lambda function.
This would log the event trigger, on AWS CloudWatch logs.
The function would appear as follows.
Status Bar
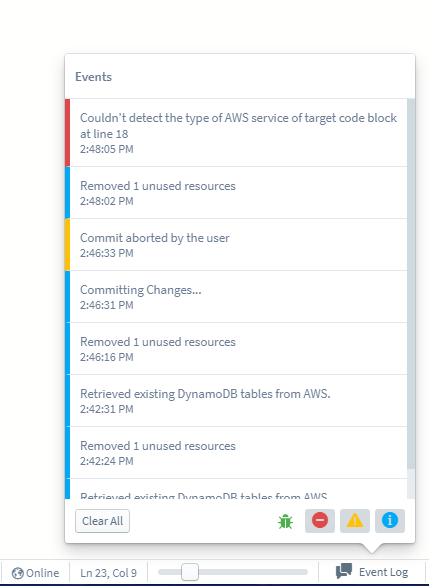
Status Bar contains the status information of your current project like notifications, event logs, network status, current cursor position in editor pane, and editor font size changer. An active status bar should look like this.

The Event Log button of the status bar shows the event logs of your current work session. You may also filter event logs by their log levels.
While executing time consuming operations in your project, you’ll be able to see the progress in the notification area of the status bar. The image below depicts the build progress of your current project.
