sigma
 AWS API Gateway (HTTP)
AWS HTTP API Gateway (APIG) is an easy and convenient framework for building and managing HTTP API endpoints. It offers support for multiple back-end integrations including lambda, and direct HTTP. With HTTP APIG you can quickly set up HTTP API endpoints for your web or mobile application, or expose your lambda as a microservice over HTTP.
A HTTP endpoint in APIG involves at least 4 definitions:
- the owning API entity itself (
Api), which contributes to the base hostname (subdomain) of the API - the
Routethat represents the HTTP path (including path parameters) - the
Integrationbetween a Route and a backend resource such as a Lambda function over an HTTP method - the
Stageover which the current “version” of the API is deployed
For example, an endpoint accepting POST requests at
https://blablablaa.execute-api.us-east-1.amazonaws.com/Prod/smartpath involves:
- a
Apiwith IDblablablaa - a
Routewith pathsmartpathfor the above API; the API may have several similar resources - an
Integrationfor the above route on HTTPPOSTmethod to a Lambda function or another HTTP endpoint - a
Prodstage that combines all the above (and current versions of the other entities of theblablablaaAPI) into one live deployment “stage”
Since an HTTP endpoint is strictly an event source from a lambda’s point of view,
Sigma supports APIG only as a trigger (i.e. you cannot “invoke” an APIG entity directly,
although there is no restriction on accessing one as a regular HTTP endpoint (e.g. via the requests module)
without direct assistance from Sigma APIs).
In order to use a HTTP APIG endpoint as a trigger for a lambda function within Sigma,
an APIG resource should be dragged from the resources panel and dropped on top of the event parameter of the lambda handler.
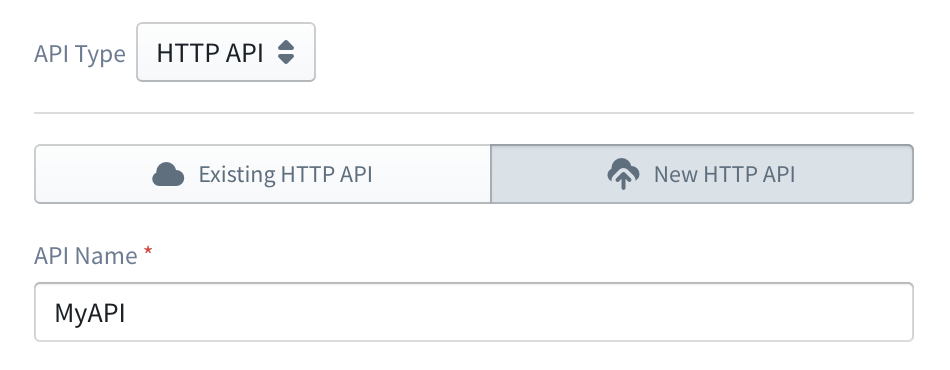
Then select the API Type as HTTP API from the APIG endpoint configuration panel, and configure the HTTP endpoint as the trigger.
When configured in this manner, an API endpoint will invoke the function every time it receives an HTTP request. The structure of trigger event received by Lambda function contains the metadata about the request such as HTTP headers, query parameters along with the stringyfied version of the request payload (as in proxy integration). In case of a binary payload, its Base64 encoded value will be included in the event.
Configuring a HTTP APIG endpoint
As mentioned before, an endpoint consists of a root API, a route, an integration over an HTTP method and a deployment stage that can be configured through the APIG configuration panel.
HTTP APIG configuration panel currently allows you only to define new entities (useful if you are starting from scratch, or are intending your project to be portable across AWS accounts) for each of the endpoint components.
The capability to select existing entities (convenient when you already have the APIG infrastructure set-up under your account) will be added in the near future.
Defining a new API

To define a new API, go to the New API tab of the configuration panel, and provide an API Name.
Defining a deployment stage
By default, the API will be deployed under the $default stage. In such a case, the endpoint URL will not have a part
corresponding to the stage name.
e.g.: https://blablablaa.execute-api.us-east-1.amazonaws.com/smartpath
If you need to define a custom stage, that can be done by first checking the Custom Deployment Stage checkbox and then providing a custom stage name in the Deployment Stage field.

Selecting the Integration Method

Then an HTTP method should be selected from the Method drop down. This method provides the bridge between the APIG HTTP endpoint, and your lambda function., i.e. when the HTTP endpoint received a request over this HTTP method, it will trigger the Lambda function.
If you need the Lambda function to be triggered for all the requests to a particular route, you can select ANY as the method.
Defining a Route

The route is the sub path of the API endpoint to which you need to accept the requests. It can be specified as the value of the Route field.
Default route
It is also possible to configure the Default Route of an HTTP API to trigger the Lambda function. For that, you can check the Use Default Route check box on the configuration panel. In such a case, all the requests that don’t match any defined routes of the API, will be directed to this Lambda function.
Additional configurations
CORS (cross-origin resource sharing)
If you are invoking the API via JavaScript on a browser (e.g. in case of a webapp frontend), access control policies of the browser may not allow your application to read the responses delivered by APIG. For bypassing this, you would need to enable CORS on your APIs.
When you are configuring a HTTP API on Sigma, you can expand the CORS Configuration sub panel and define the following CORS related properties.
| Property Name | Corresponding CORS Header | Description | Example |
|---|---|---|---|
| Allowed Headers | Access-Control-Allow-Headers |
Indicates which HTTP headers can be used when making the request | Authorization,X-Custom-Header or * |
| Allowed Methods | Access-Control-Allow-Methods |
Specifies the method or methods allowed when accessing the resource | GET,POST,DELETE or * |
| Allowed Origins | Access-Control-Allow-Origin |
Specifies from which origins, browsers are allowed to access the resource | https://foo.com,https://bar.com or http://* or https://* or * |
| Exposed Headers | Access-Control-Expose-Headers |
Whitelists headers that Javascript in browsers are allowed to access | Date,x-api-id |
| Max Age | Access-Control-Max-Age |
Indicates how long the results of a preflight request can be cached | 300 |
| Allow Credentials | Access-Control-Allow-Credentials |
Indicates whether or not the response to the request can be exposed when the credentials flag is true |
true or false |